How To Cut And Assemble Bulk Extension Cords Properly
Using the extension cords can be a simple task until you encounter the real-world problems. Maybe the cord is excessively long, or the factory-made length creates clutter and poses a safety hazard.
In some scenarios, damaged ends compel you to change an entire cord when a small piece of a cord is not useful. Such scenarios are a waste of time, money, and effort.
However, by cutting and assembling extension cords out of bulk wire, you have control over length, flexibility, and longevity. When properly implemented, it enhances safety and performance as well.
Having said that, any error in cutting or assembling may cause electrical malfunctions or dangers. This article discusses a step-by-step description of the process of cutting and assembling bulk extension cords in a proper way, so as to work with confidence and safety.
1. Purpose and Value Behind Custom Cord Assembly

Prior to engaging in any cutting process, clarity on purpose is important. A bulk extension cord enables maximum control of the cord length and flexibility, and this directly enhances the efficiency and safety of the workspace.
Rather than modifying the environment by using fixed cord sizes, the cord is modified to match task needs. This is particularly handy when it comes to workshops, garages, or outdoor structures where the distance changes continuously.
In addition, custom assembly upholds consistency among many cords. Matching wire type and length decreases confusion and makes it easier to maintain it in the future.
At the same time, bulk wire reduces wastage as it only uses the length that is necessary. Nevertheless, advantages become evident when assembly is done in the right way.
Thus, acknowledging the value of custom cords makes it possible to justify the additional attention paid to the steps of preparation and assembly that follow.
2. Wire Size and Jacket Selection for Safe Performance
When the purpose is understood, the next thing to do is to choose the right size of wire and the type of insulation. Wire gauge has a direct impact on current-carrying capacity; improper selection poses the risk of overheating and loss of power.
Thinner wire can be used to support lighter tools, whereas heavier equipment requires heavier conductors to be stable. Moreover, the jacket material is important for durability.
An indoor-rated insulation is different compared to that used outdoors, which is rated to withstand moisture, abrasion, and temperature variations. Hence, using the right jacket type depending on the environment is a way of avoiding premature wear.
The length of the cord also has an effect on performance, as a longer run results in a higher voltage drop. Therefore, gauge, jacket, and length balancing are used to maintain the efficiency and safety of the cord under desired loading conditions.
3. Accurate Measurement and Clean Cutting Process

Once the right wire has been chosen, correct measurement is the only way to get clean results. Start by laying the cord flat on a surface so as to prevent coils or bends that give false readings.
Before starting, it is important to use a measuring tape and clearly mark the cut point. Then use suitable cable cutters to provide a smooth, even cut.
Sharp edges make stripping difficult and increase the possibility of damaging conductors. Additional time spent in the cutting phase will conserve time at the assembly stage.
Furthermore, it is recommended to include a small margin in case the length appears problematic. Additional inches are easy to cut, whereas a shortage forces a restart. Precision here favors the smooth continuation with the help of the rest of the steps.
4. Careful Jacket Removal and Conductor Preparation
After a clean cut, the focus is directed to the internal conductor exposure. Start by peeling off the outer jacket, taking the necessary amount of care not to be too rough as to nick the insulation beneath.
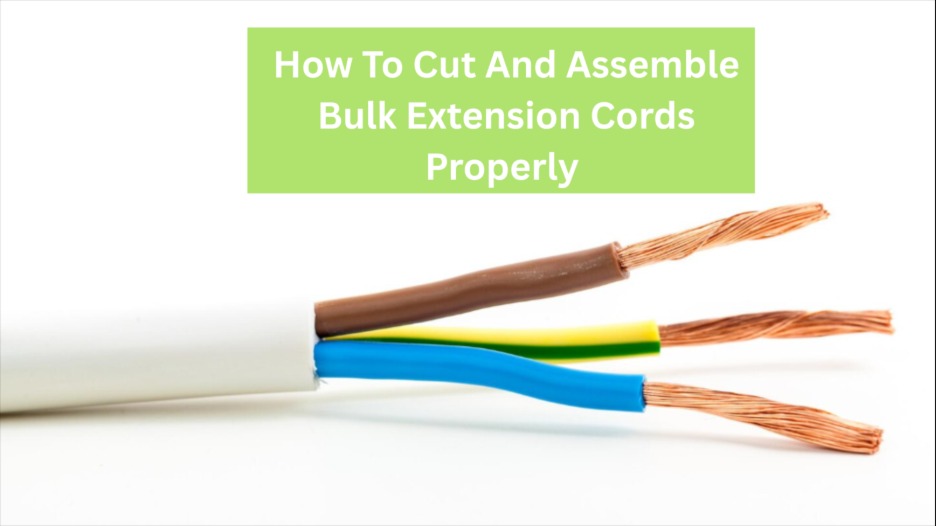
Once jacket removal completes, individual conductors become visible, typically color-coded for identification. Strip insulation from each conductor carefully, leaving sufficient copper for secure terminal contact.
Excess exposed wire increases the risk of shorts, while insufficient exposure weakens the connection. Additionally, keep strands tight and intact, since broken strands reduce current capacity.
Careful preparation at this stage directly supports reliable electrical contact later.
5. Secure Connector Attachment and Strain Control

With conductors prepared, connector installation requires focused attention. First, slide the connector housing over the cord before attaching wires to the terminals, which prevents unnecessary disassembly later.
Match each conductor to the correct terminal, ensuring color alignment remains accurate. Tighten terminal screws firmly without crushing copper strands. Balanced pressure ensures strong contact without wire damage.
Afterward, confirm that strain relief grips the outer jacket rather than the internal wires. This feature protects connections from tension caused by pulling or bending during use. Finally, close housing securely and inspect alignment.
6. Testing Steps and Ongoing Safety Practices
After assembly completes, testing becomes the final essential step. Use a continuity tester or a multimeter to confirm correct connections and the absence of shorts. Verifying the function before use prevents equipment damage and personal risk.
Next, inspect the assembled cord visually. Look for exposed copper, loose housing, or uneven strain relief. Address any issue immediately before placing the cord into service.
Ongoing safety practices also matter. Avoid routing cords near sharp edges, standing water, or high heat sources. Store cords loosely coiled to prevent internal stress. Regular inspection ensures long-term performance and safe operation.
Conclusion
Cutting and assembling bulk extension cords properly offers a practical solution for length limitations, clutter, and repeated replacements. By selecting the correct wire, measuring accurately, preparing conductors carefully, and securing connectors firmly, cord performance improves significantly.
Each step builds upon the previous one, creating a reliable and safe result when followed consistently. Testing and routine inspection further reduce risks during use.
With a clear understanding and a steady approach, custom extension cords become dependable tools rather than potential hazards. Applying these methods supports safer workspaces, better organization, and long-term electrical reliability.