Image to Video AI How Small Businesses Turn One Photo into High-Performing Video
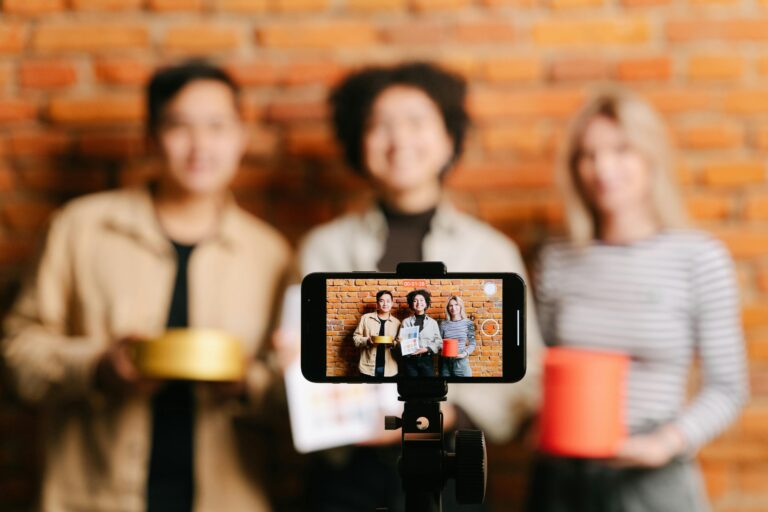
If you run a small business, you already know the painful truth: video works, but video production doesn’t fit small-business reality. You don’t have a studio. You don’t have a dedicated editor. And you definitely don’t have time to “just learn After Effects this weekend. That’s where Image to Video AI earns its keep. With the right workflow, Image to Video turns your existing photos—product shots, event flyers, customer testimonials, even simple brand visuals—into short, scroll-stopping clips you can post or test as ads. This guest post is written for informational search intent: what photo to video is, how it works, where it fits in a lean marketing workflow, what to watch out for, and how to consistently get better results.
Below is a practical, no-fluff breakdown.
What Is Image to Video AI (and Why It Matters for Small Businesses)
At its core, Image to Video AI is software that converts a still image into a short animated video. You upload a photo, describe the motion or style you want (often with a text prompt), and the system generates a video clip—typically in MP4 format.
For small and midsize businesses, Image to Video solves three problems that show up in almost every marketing plan:
You can test video ideas without paying “video prices”
Traditional video production has a minimum cost—time, tools, freelancers, or all three. Image to Video lowers that barrier so you can create multiple versions of the same idea and see what performs.
You can produce faster than your content calendar demands
A lot of teams can write posts and design static graphics. Video is where output drops. Using Image to Video, you can turn one approved image into multiple Image to Video variations in a single working session.
You don’t need specialized skills to start
A good Photo to Video workflow doesn’t require editing experience. It’s closer to “upload + describe + export” than “shoot + cut + color + audio.”
How to Use an Image to Video AI Generator (4 Steps)
Most online tools follow a simple flow. If you’re using a free web-based Image to Video generator, the process usually looks like this:
Upload your picture (JPEG or PNG)
Start with the best possible source image.
- Clear subject
- Decent lighting
- Minimal compression artifacts
- Readable text (if your image includes copy)
A strong input makes Image to Video AI outputs look dramatically better.
Enter a prompt describing what you want
This is the part most people rush—and it’s the part that determines whether your Image to Video AI result looks polished or chaotic.
Don’t just say “make it animated.” Describe:
- The motion (zoom in, pan left, gentle parallax)
- The pacing (slow, smooth, subtle)
- The focus (keep product sharp, keep text readable)
- The style (clean, realistic, minimal transitions)
Wait for processing
Many tools generate within minutes. While it processes, do something that makes you faster long-term: write a second prompt that’s meaningfully different. That’s how you get real testing value from Image to Video AI.
Download and share
Once complete, export your MP4 and use it where it belongs:
- Ads
- Landing pages
- Product pages
- Reels/TikTok/Shorts
- Email embeds (as a thumbnail link)
If you’re serious about output, don’t stop at one version. Generate three Image to Video options per image and pick the best performer.
Prompting Tips: How to Get Better Image to Video AI Results
After working with AI tools for a couple years, I’ve learned a simple rule: the best prompts sound like a calm creative brief, not a sci-fi novel.
Here’s what consistently improves Image to Video AI quality.
Use a simple structure: goal → motion → constraints
Start with what the clip is for, then specify the motion, then add guardrails.
Example prompt style (you can adapt it):
- Goal: “Create a short ad-style clip highlighting the product.”
- Motion: “Slow zoom in, subtle parallax on background, gentle light sweep.”
- Constraints: “Keep text sharp and stable, no warping, no jitter, realistic motion.”
This “constraints” line is a secret weapon in Image to Video AI.
Describe camera movement, not vague adjectives
Vague: “make it premium and cinematic”
Better: “smooth slow zoom, shallow depth feel, minimal motion, soft lighting”
Most Image to Video AI engines respond better to concrete movement.
Tell the model what not to do
If you’ve seen common AI artifacts, prevent them upfront:
- “No distorted faces”
- “No excessive morphing”
- “No fast flicker”
- “Keep logo shape intact”
- “Keep small text readable and steady”
This matters for Photo to Video conversions, where text and logos often get wobbly.
Keep movement subtle for business content
For marketing, subtle usually wins. Over-animation can feel spammy. A clean, gentle Image to Video AI clip often looks more expensive than an overcooked one.
Troubleshooting: Common Image to Video AI Problems (and Fixes That Work)
Most failures are predictable. Here’s a practical guide.
Problem: The output looks blurry
Likely causes
- Low-resolution input
- Heavy compression
- Too much motion requested
Fix
- Use a higher-quality source image
- Reduce motion intensity (“subtle,” “gentle,” “minimal”)
- Avoid tiny text in the original image (or enlarge it first)
Problem: The video “jitters” or feels unstable
Likely causes
- Prompt asks for aggressive movement
- Busy backgrounds confuse the motion
Fix
- Request “stable camera,” “smooth motion,” “minimal movement”
- Choose images with cleaner backgrounds
- Avoid thin lines and dense patterns when possible
Problem: The clip is animated, but it doesn’t sell anything
Likely causes
- Prompt focuses on effects, not message order
Fix
- Explicitly prioritize what appears first: benefit → proof → offer
- Use the prompt to emphasize the product or headline
Problem: Inconsistent style across a campaign
Likely causes
- Prompts vary too much between assets
Fix
- Create one “master prompt” for your brand style
- Only swap product specifics (name, benefit, offer)
- Keep motion and pacing consistent
Consistency is where Image to Video AI becomes a system, not a toy.
A Simple Workflow Upgrade: Before/After for a Lean Team
Here’s a pattern I’ve seen work for small teams that want more content without adding headcount.
Before: the “we’ll do video later” loop
- One or two videos per month
- Lots of delays (approval, editing, revisions)
- Style changes every time because production changes
After: a weekly Image to Video AI content loop
- Pick 10 reusable images (products, testimonials, promos, brand visuals)
- Write 2 prompts per image (clean/product-first vs. energetic/social-first)
- Generate 20 Image to Video AI clips
- Select the best 6–8, add captions, export platform sizes
- Publish consistently and test 2–3 as paid creatives
The key shift: Image to Video AI makes versioning cheap. Versioning is how you learn what converts.
Key Takeaways: How to Make Image to Video AI Work Like a Growth Tool
When small businesses get real value from Image to Video AI, it’s because they treat it like a repeatable content engine:
- Start with your best photos, not your leftovers
- Generate multiple Image to Video AI variations per asset
- Keep motion subtle and message-first
- Use constraints to avoid artifacts
- Build a reusable prompt library so your style stays consistent
- Use the speed of Image to Video and Photo to Video to test, learn, and iterate weekly
Used this way, Image to Video AI isn’t just “a neat feature.” It’s a practical way to lower production costs, stay consistent on social, and create more opportunities for conversion—without hiring a bigger team.