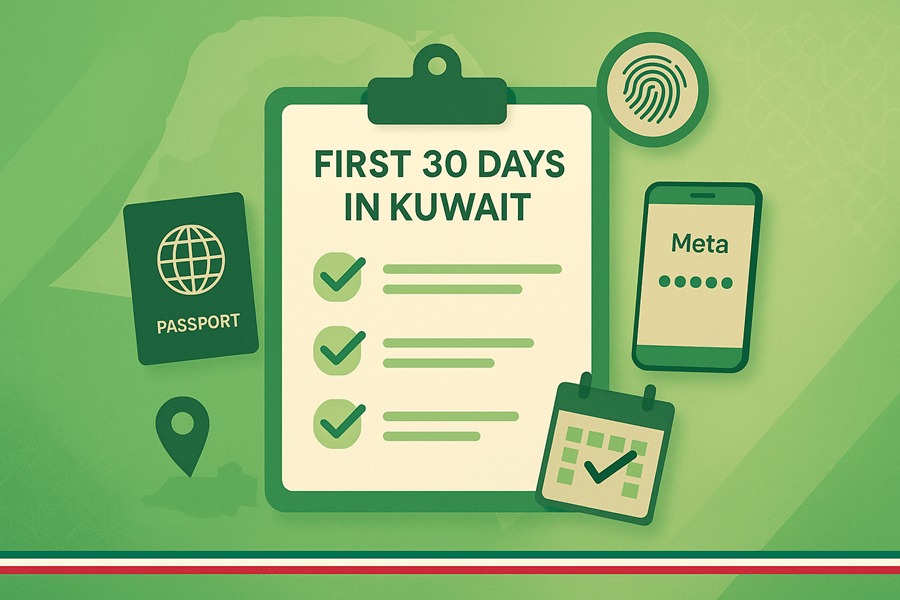
New in Kuwait? Your first 30 days checklist: Meta account, appointments, and fingerprints
Arriving in Kuwait comes with a short but important admin sequence. In your first month you’ll create a Meta Kuwait account, book required government appointments, complete biometrics at the Ahmadi Fingerprint Office, then track your status toward Civil ID issuance. Use this guide to move step-by-step with the right documents, realistic timelines, and common mistakes to avoid.
Before you start: documents & account setup
Gather these documents (passport, visa page, residency forms)
Have clear, scannable copies of your passport bio page, current visa/entry sticker, and any residency forms or employer letters. If your employer/PRO handles submissions, ask for a checklist and ensure your passport name and spelling match exactly across all files.
Create a secure email/phone for OTPs
Meta and other government systems use one-time passwords (OTPs). Make sure you have a working Kuwait mobile number in your possession and a reliable email you can access on your phone. Set strong passwords and keep your SIM active to receive verification codes.
Meta Kuwait: create, log in, and book
Account creation/verification steps
On Meta, you’ll register, verify your identity via OTP, and log in. Keep your passport details handy and enter data exactly as shown on your documents. After login, you’ll see an Appointments/Services area where you can search by entity (e.g., Ministry of Interior) and service type.
Finding the right service and appointment slot
Search under the relevant ministry/department and choose the service you need (for first-time residency, look for biometric/fingerprint enrollment). Pick a location convenient for you and a date/time that matches your schedule. Save the PDF/PNG appointment slip and keep it on your phone and as a printed copy.
Rescheduling and confirmation tips
If you must change the date, use the reschedule option in Meta; early—same-day changes are often not possible. Always reconfirm that you received a new appointment SMS/email after modifying a booking. Bring the latest slip to the counter to avoid confusion. For a complete step-by-step guide, visit Meta Kuwait help.
Ahmadi biometrics: what to expect at the fingerprint office
Who needs fingerprints and when
Most first-time residency applicants and many status changes require fingerprinting. Your employer/PRO or your approval notice will indicate when to attend. Plan for at least an hour on site, longer during peak times.
Location, timings, and queue basics
Your Meta booking shows the location and slot. Aim to arrive 15–20 minutes early to pass security, find the right counter, and handle any photocopying. Queues move in batches; follow staff instructions and keep your appointment slip visible.
What to bring (ID, appointment proof)
Carry your passport, appointment slip/QR, and any forms listed in your booking. Bring two or three photocopies of key pages in case a counter requests them. Keep your Kuwait mobile accessible for any OTPs or follow-up calls. For further checkout Ahmadi Fingerprint Office Kuwait.
After fingerprints: status checks, Civil ID, and next steps
Tracking updates in portals/apps
After biometrics, monitor your status in official government portals and the Sahel app. Look for messages or status changes related to residency processing and Civil ID. If the system indicates additional documents are required, respond promptly.
Typical timelines and what delays approvals
Processing times vary by workload and case type. Many applicants see progress within days to a few weeks. Delays are common around public holidays, if there are name/number mismatches, or when medical/residency steps are still pending.
When to follow up (and with whom)
If there is no movement after a reasonable window (e.g., 2–3 weeks), check your Meta account, Sahel notifications, and any MOI/PACI status pages. Then contact your employer/PRO first; if needed, use the official e-services support contacts listed in the portals.
Common mistakes to avoid
Missing documents or mismatched spellings
Most rejections come from typos in names and missing pages. Always compare your entries to your passport and ensure consistent transliteration across systems.
No-show/reschedule pitfalls
A no-show can block you from rebooking quickly. If you cannot attend, reschedule ahead and keep the latest confirmation slip. Screenshots alone may not be accepted—carry the actual PDF/printout.
Bringing photocopies vs. originals
Counters may ask for both. Keep originals ready and extra copies of passport bio page, visa page, and any letters. This avoids repeat queues for copying services.
For family dependents: sequence and special notes (optional)
Dependents typically follow after the principal applicant reaches key milestones (e.g., residency approval). Check each dependent’s document list—birth/marriage certificates often need legalization/translation. Children may have different biometric rules; always verify the current policy before booking.
30-Day Admin Timeline & Tasks (Example)
| Week | Task | Where | Proof/Output | Notes |
| Week 1 | Create Meta account | Online | Confirmation SMS/Email | Match passport data |
| Week 1–2 | Book government appointments | Meta portal | Appointment slip | Keep PDF/printout |
| Week 2–3 | Ahmadi fingerprints | Ahmadi office | Done stamp/receipt | Arrive early with copies |
| Week 3–4 | Status check & Civil ID steps | Official portals/apps | Civil ID status | Revisit if delayed |
Sources:
Ministry of Interior (MOI) — main portal & appointments references (English).
MOI Individual E-Services platform (login gateway for personal services).
FAQ
Do children need fingerprints?
Policies change; some age groups or categories may be exempt. Check your booking instructions and current official guidance before scheduling.
Can I change my Meta Kuwait appointment?
Yes—use the reschedule option inside Meta. Changes often need to be made in advance, and you must keep the new confirmation.
How long after fingerprints until approval/Civil ID?
It varies by workload and case type. Many applicants see updates within days to a few weeks. If nothing changes after 2–3 weeks, review portals and contact your employer/PRO or the relevant e-services support.


